


Planning and constructing a featheredge fence
Planning and constructing your featheredge fence
This is not a definitive account on constructing a featheredge fence and assumes a moderate amount of DIY knowledge. When deciding on whether to DIY or employ a tradesman remember there will be a considerable amount of work involved during construction. However, these fences are flexible and create a sense of uniformity particularly in sloping gardens.
Featheredge panels or featheredge boards?
While featheredge panels are quick to install on level ground, they are not so quick and easy to install on irregular height gardens. You also need to consider whether the final design is intended primarily for appearance or privacy, for security or safety? The assumption here is for a fence made using featheredge boards and fence rails.
Fencing season generally starts in Spring, typically after months of incessant rain have softened the ground. Before deciding if you are going to build the fence, or employ a tradesman, it might be worthwhile checking for existing posts, and any intermediate posts that remain. A garden fence of 25m metres length could have 15-20 timber posts in it – and somebody will have to dig out the old ones.
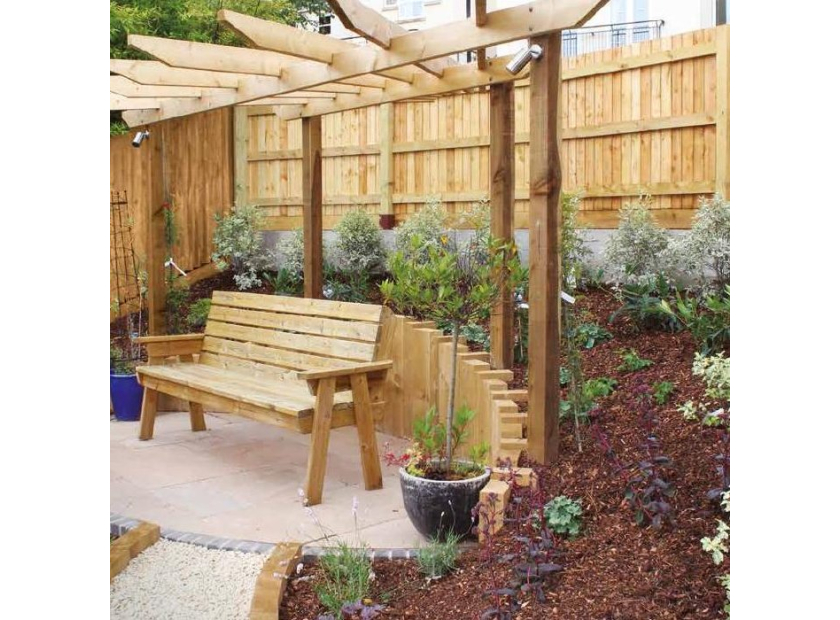
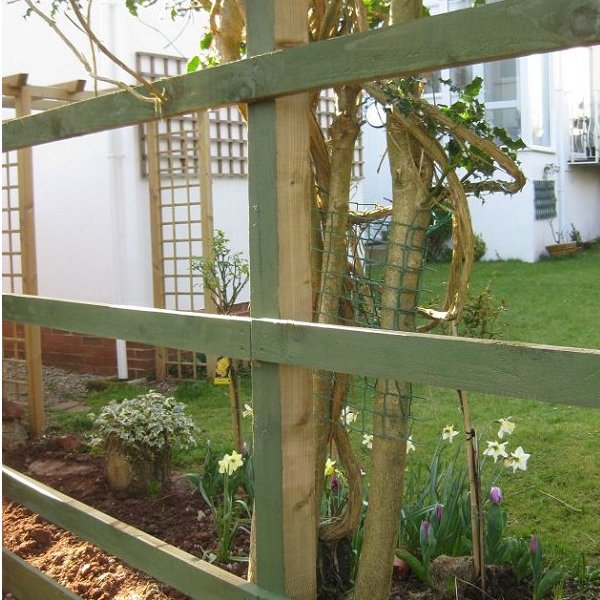
This type of timber board fencing is an attractive alternative to standard fence panels. The fence is constructed with posts that are concreted into the ground and then linked with horizontal timber rails. Then the feather-edge (taper sawn) boards are overlapped and secured to the horizontal rails.
What are the Benefits of Feather Edge Fencing?
One of the biggest advantages of this type of fencing is that it can be customised to suit the contours of your own garden or outdoor space. It can be angled or shaped to fit around most awkwardly shaped gardens, giving a smart and uniform appearance. When installed carefully this type of fence is usually stronger and more durable than a standard panel fence. It is also fairly easy to maintain and treat and can be cut to allow for uneven ground.
Recommended post sizes 100mm x 100mm square sawn
You need to choose the width/height of feather edge board you want to use. Stocked boards for fencing are 125mm wide (heights 1050mm, 1200mm and 1650mm) and 150mm wide (1650mm, 1800mm and 2400mm). The fence will also need rails (the horizontal frame to which the vertical boards are attached), fence posts and post caps, PostMix for securing posts into the ground, gravel board to fit across the bottom of the fence and galvanised nails.
Recommended posts are the 100mm x 100 square pressure treated (aka tanalised) – they will lost longer than 75mm x 75mm posts. The 100mm fence posts can be purchased in standard or UC4 incised (15 Year Warranty) variety – if the posts are being installed in the warm and wet areas the UC4 posts are probably the better investment.
Estimating your new garden fencing
Create a string line – timber ground pegs are good – that follows where you are planning to put the perimeter of the featheredge fencing. Wherever possible put a peg to indicate where each post will be situated. Fence rails – or more precisely 38mm x 88mm fence rails – are stocked at 3.0m, 3.6m, 4.2m and 4.8 metre lengths. Therefore, we would suggest post spacings of 1.5 metres to 2.4 metres maximum. If the garden is exposed to strong winds then a closer post spacing of 1.5 to 1.8 metres would be preferable.
Post depths should be between 450mm and 600mm depending on ground levels. It is not uncommon for a garden fence to need varying post heights of between 1.8 metres, 2.4 metre and even 3.0 metres. Planning authorities stipulate a boundary fence cannot be higher than 2.0 metres above ground level – in some circumstances it may be less. It would be prudent to talk through your proposals with any neighbours that might be affected. Most fencers use 2.4 metre fence posts and allow for 150mm of gravel board and 1.8 metres of post out of the ground.
Locate where posts will need to be and dig to a depth of 450mm- 600mm. Before committing too far it might be worth testing the ground with a long crowbar. Attach your gravel board at the bottom of the fencing as the feather edge boards will sit on top of these. Screw the gravel boards into the posts.
Featheredge boards, rails and posts - does it all add up?
By now there should be a plan for fence post requirements and an approximate list of materials should be taking shape. It should include the proposed number of post holes, bags of Remix Postcrete and post dimensions. Each fence installation is different but a general rule of thumb is to allow 1.5 bags of quick-setting postcrete per post.
The tanalised horizonal rails should be spaced at vertical spaces no greater than 600mm. A 1.8 metre high fence would need a minimum of 3 rails, a 1.2 metre fence would need a minimum of two rails. There is a case to be made for adding an extra rail if the fence is going to suffer strong winds. Rails are usually 38mm x 88mm (that is approx. 1.5 inches x 3.5 inches) and a choice of lengths 3.0 metres, 3.6m, 4.2m and 4.8 metres. When making the materials list it is best to stagger joints to avoid them all meeting on the same posts. Alternative options for timber rails include C24 graded 47mm x 100mm where more strength is required. If a more contemporary rail is required, then pressure treated CLS timber can be used for railing but they are only stocked at 4.8 metres. 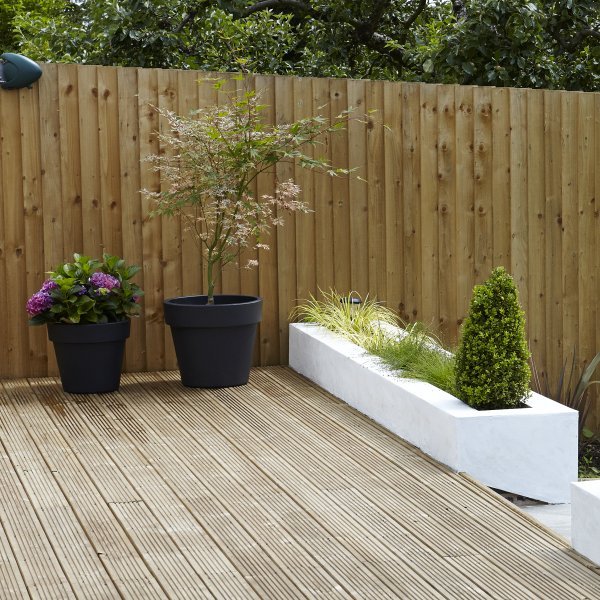
Gravel boards are a sensible investment. Running horizontally just above ground level they should reduce the amount of moisture that otherwise might be absorbed by vertical featheredge boards. Timber gravel boards are relatively cheap and easy to fix, also making it easier align each featheredge-slat when they are installed. Allow for one run of sawn timber gravel boards, length options of 1.8 metres, 3.0m, 3.6, 4.2m and 4.8 metres.
How many feathers per fencing installation
Finally, time to calculate featheredge requirements. Feather edge boards are fixed by using galvanised nails or annular ring sherardised nails. Preferred board overlaps are 25mm which allows for the expansion and contraction of most featheredge boards. Each featheredge slat is attached using three nails- one at the top, one in the middle, and one at the bottom rail.
The normal rule of thumb is to allow 10 of the 125mm width timber slats, or 8 of the 150mm slats per metre. Some allowance for featheredge wastage should be made, usually between 5% - 10%. Because timber is a natural product there will be some colour variations between slats. When the time comes for fixing the slats some fencers check through the boards in case they show a wide variation of appearance. With a little bit of selection, it is easier to reduce large patches of different shades of green.
Talking of installation, a useful tip is to get a stiff hand brush and make sure each board has a “brush-down” to reduce the amount of sawdust and small splinters on each board. It doesn’t take too long and is an ideal job for anyone who is wanting to help. Make sure this procedure is not undertaken where the sawdust us going to blow into somebody’s eyes
Finishing touches
The top of a fence can be enhanced with some planed flat-bottomed or rebated capping. This capping is planed and kiln-dried to keep it as straight as possible, sawn capping tends to warp and twist. Rebated capping is the most popular option, possibly because it conceals any differences in height and provides more protection for the exposed timber slats.
Although these are tanalised featheredge boards there will be some cross-cuts made during installation. To help preserve the garden fence any crosscuts – especially rails, gravel boards and feathers – should be treated with Ronseal End Grain Protector.
Over time the fence timbers will turn grey. If this natural grey finish isn’t a favourite shade then a colour stain can be used to put some "fizz" back into the fence. Ensure that the stain is suitable for sawn timber, any finishes for planed timber are readily absorbed by sawn timber and coverage is nowhere as good as stated on the tin. Generally, most fencers will wait several months for the feather edge slats to stabilise before staining. If they are stained early in the season, they will dry out more, contract and the stain lines will probably become apparent.
It goes without saying that our friendly crew at Southern Timber are happy to talk through your fencing enquiry, contact us with your enquiries, or to place an order.
Short Code:
Credit Limit:
Current Balance: